On this page
All guides
Theme and colours
Settings are a draft: nothing changes for good until you press Save. Cancel drops your changes.
- Step 1:
Open Settings (Ctrl+,) → Appearance.
- Step 2:
Pick a theme: Dark, Dim or Light.
- Step 3:
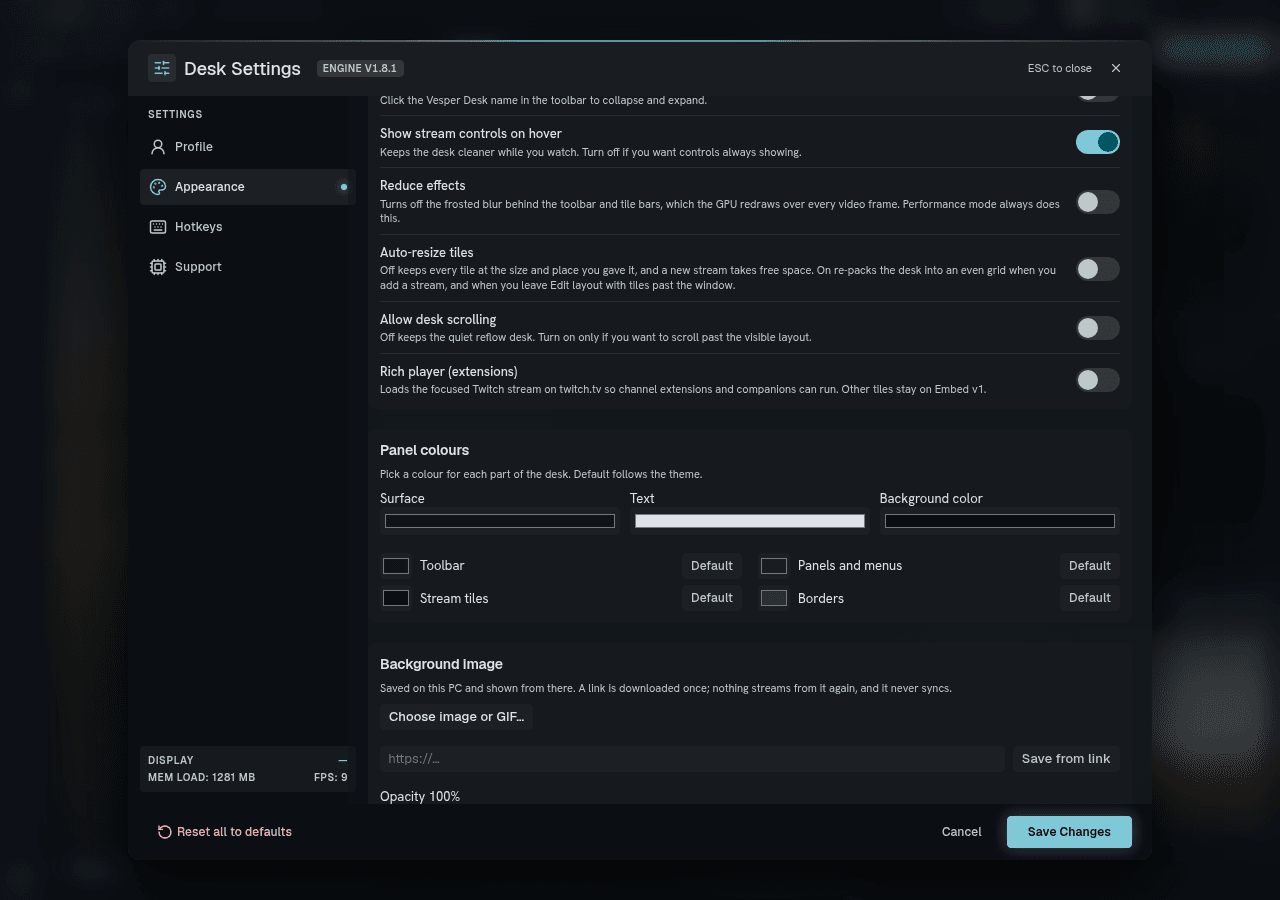
Change panel colours: Toolbar, Panels and menus, Stream tiles and Borders. Default puts a colour back to the theme's.
- Step 4:
On paid plans, set Glow strength and Glow colour.
- Step 5:
Press Save.
Background image or GIF
- Step 1:
In Appearance, click Choose image or GIF…, or paste a link and click Save from link.
- Step 2:
The file is saved on this PC and shown from there. A link is downloaded once and never synced.
- Step 3:
Press Save.
Where the toolbar sits
- Step 1:
In Appearance, pick Top Bar, Bottom Bar, Left Bar or Right Bar.
- Step 2:
With a Top or Bottom Bar, choose where the Side Bar goes: Left, Right or Hidden.
- Step 3:
With a Left or Right Bar, drag its inner edge to make it wider. From about 140px wide each button shows its name.
Hide the toolbar while you watch
- Step 1:
Hover to expand toolbar (in View ▾): the bar stays hidden while the pointer is on the streams and comes back when you move to its edge.
- Step 2:
Auto-hide toolbar (Settings → Appearance): the bar hides after a moment of no movement; any mouse move or key brings it back.
- Step 3:
Pin toolbar keeps the bar showing while either of these, or Fullscreen (F11), is on.
- Step 4:
Press Ctrl+\ (Toggle toolbar) to show or hide it from the keyboard.
Simple or all controls
New installs start with simple controls: watch, add, chat and pick a layout. Turn on Show all controls in Settings → Appearance to add every tool: Performance mode, Edit layout, saved desks, See-through mode, pop-out tools and the side rail.
Hiding is the only difference. Every hotkey and feature still works with simple controls.